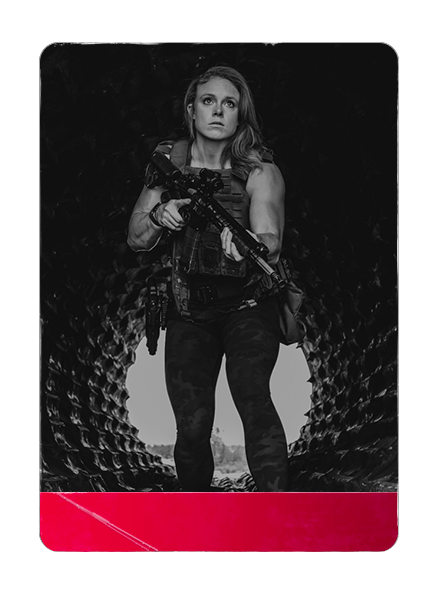
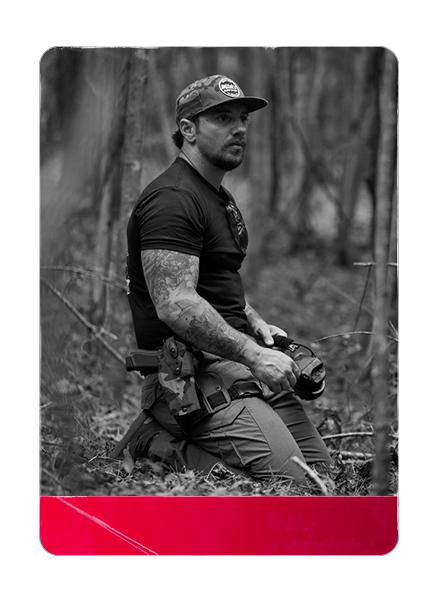
Unleash Your Style
Limited Edition Chocolate Chip Camo Holsters Now Available. Don't Miss Out on This Sweet Tactical Edge!
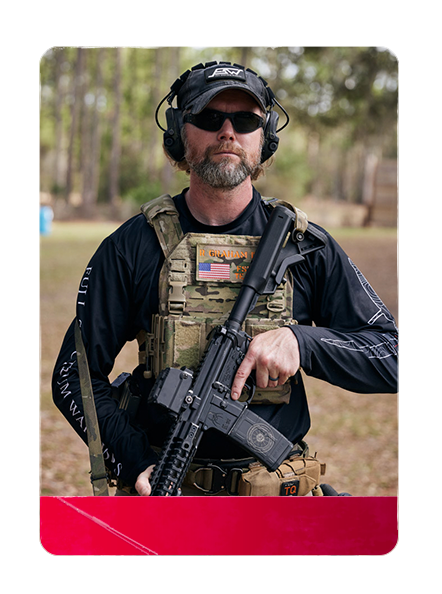
FIND YOUR FIT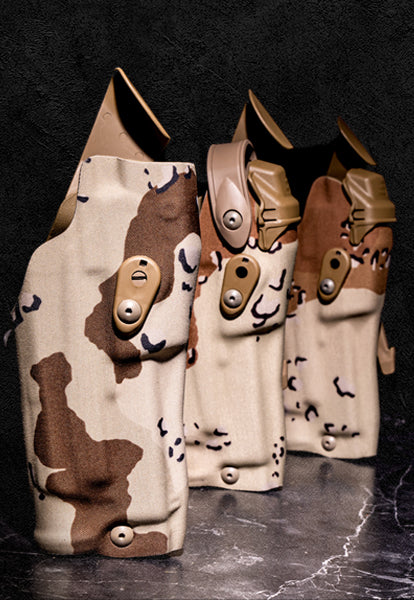
Limited Edition Chocolate Chip Camo Holsters Now Available. Don't Miss Out on This Sweet Tactical Edge!
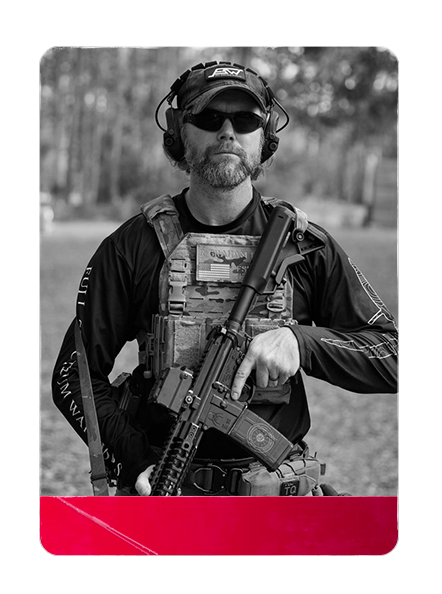
FIND YOUR FIT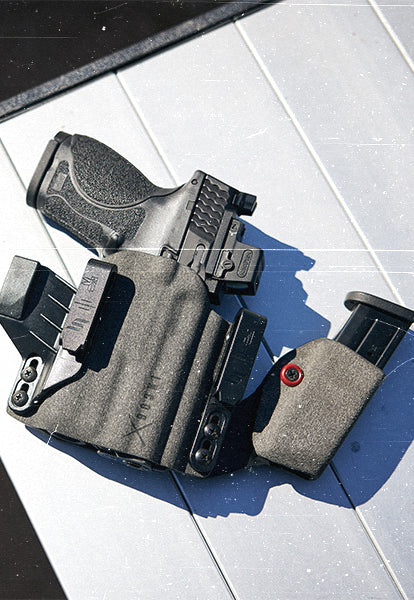
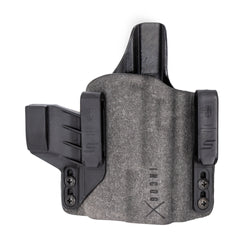
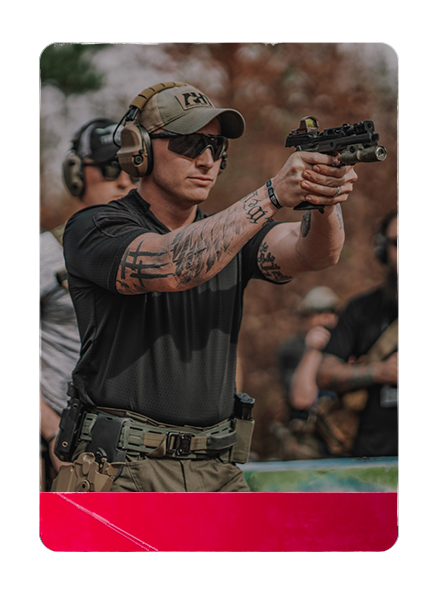
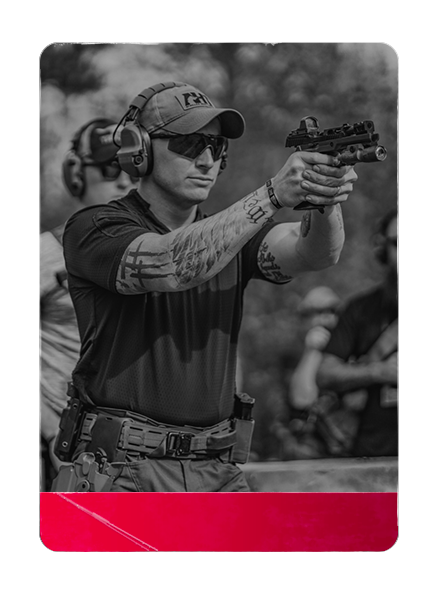
Now offering Smith & Wesson fits for the game changing IWB holster.
BUY NOW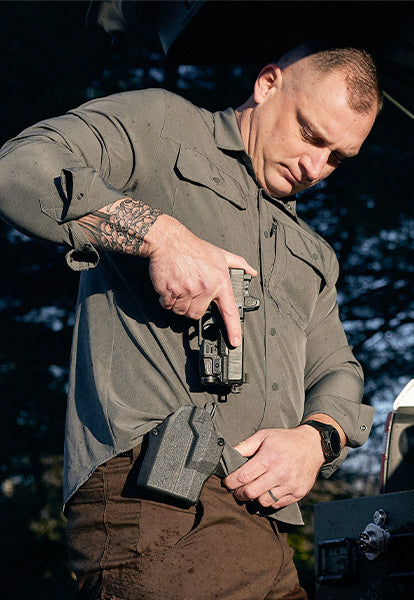
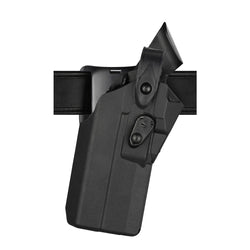
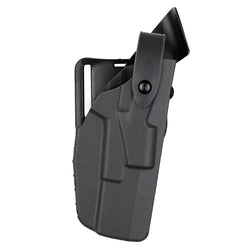
Get the security of ALS with an open-top design. Now available for Glock 17 & 19 in light and nonlight fits.
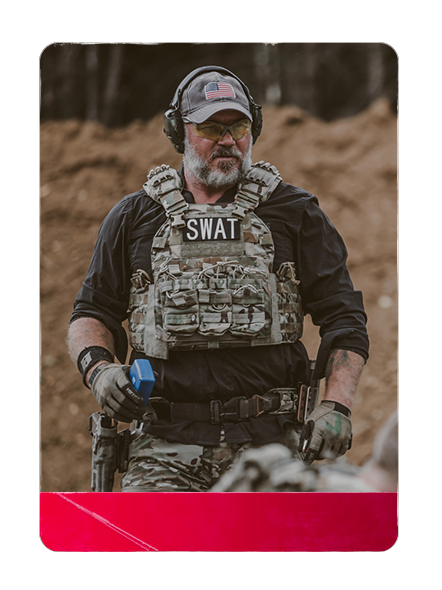
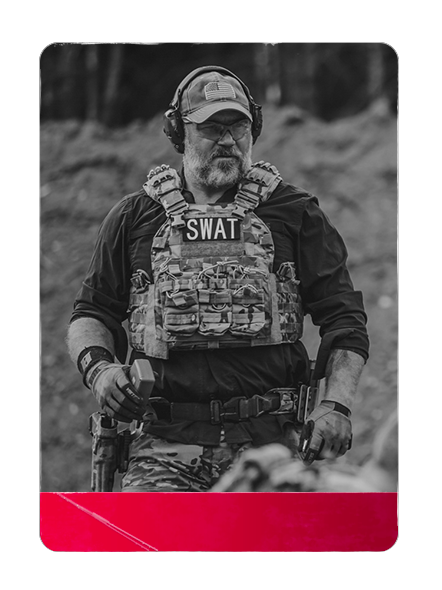
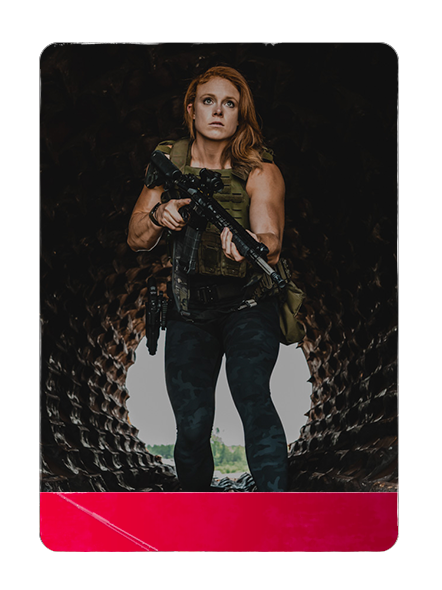
BUY NOWCADRE | A selected group of people; specially trained for a particular purpose or profession, for a special mission.
Sign up to our newsletter
You have to be at least 18 to sign up
please enter a valid date
please come back and visit us when you're 18